Introduction
Paper clutter can quickly pile up, leaving you feeling overwhelmed. From bills to documents, receipts to important notes, it’s easy for paper to take over your space. But don’t worry — organizing paper doesn’t have to be difficult! In this post, I’ll guide you through simple, actionable steps to organize your paper and create a system that works for you. Plus, I’ll share tips on how to stay prepared for the unexpected by keeping your most important documents accessible in case of an emergency.
Five simple steps
1. Start with sorting
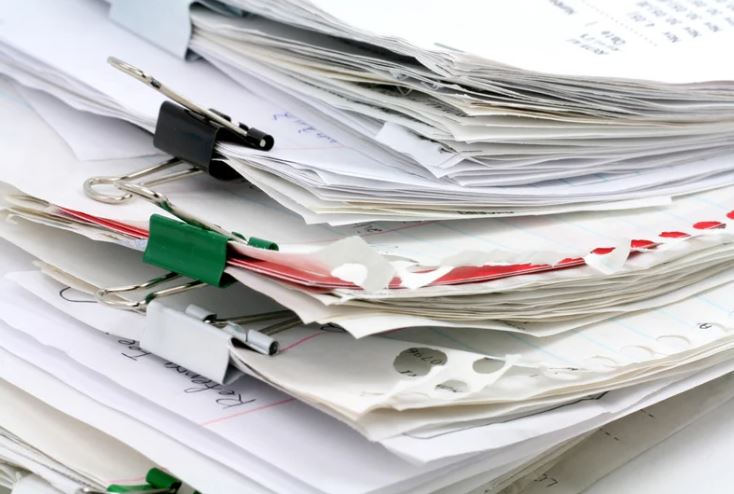
The first step in organizing paper is to sort it. Create categories based on the type of paper you have. Some common categories might include:
- Bills and statements
- Important documents (e.g., contracts, medical records, etc.)
- Receipts
- Personal correspondence
- Miscellaneous papers (junk mail, flyers, etc.)
2. Purge the unnecessary
Once you have your categories sorted, it’s time to get rid of anything you don’t need. Ask yourself:
- Do I need this paper for future reference?
- Can I find it online or in another format?
- Is this paper outdated or irrelevant?
Shred or recycle papers that don’t serve a purpose.
3. Set up a filing system
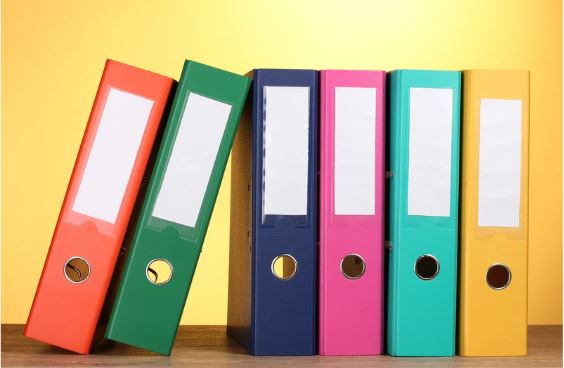
Create a simple, organized filing system to store your important papers. Consider using folders or binders for different categories. Here’s how to do it:
- Label each folder clearly, for example: “Medical,” “Taxes,” “Banking,” “Receipts,” etc.
- Use color-coding or tabs to make it easier to find what you need.
- Make sure you have a system in place to regularly update and archive old papers.
4. Go digital
For papers you don’t need to keep physically, consider scanning or taking photos and storing them digitally. This will free up physical space and make it easier to access important documents when needed.
5. Establish a routine
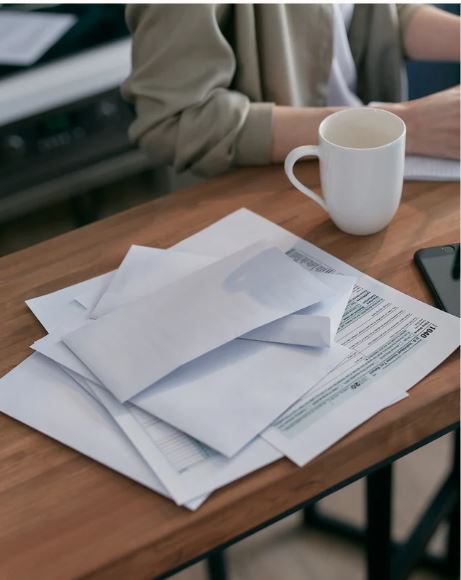
The key to keeping paper clutter under control is to regularly manage it. Make it a habit to sort through incoming paper immediately — whether it’s mail, receipts, or documents — so it doesn’t accumulate. If you don’t have time to deal with it right away, set up a designated place, like a box or tray, to temporarily store incoming mail. Just make sure to check and go through this box every day. This small effort prevents paper from building up and keeps your space organized.
Organizing Important Documents: Be Prepared for the Unexpected
In addition to everyday organization, it’s also crucial to think about the unexpected — like an emergency or natural disaster. One thing you can do is set up a “grab-and-go” folder with your most essential documents, ensuring you’re always prepared in case you need to leave in a hurry.
Here’s how to get started:
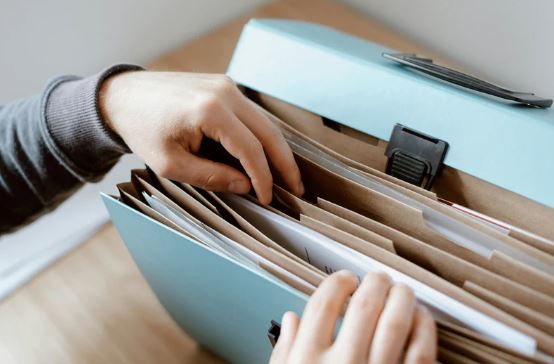
- Choose a safe storage solution: Opt for a fireproof folder or a fireproof safe to keep your most important documents secure yet accessible.
- What to include in your emergency folder: Some of the must-have documents include:
- Identification: Passports, birth certificates, IDs.
- Financial Info: Bank account numbers, insurance policies, tax returns.
- Medical Information: Health insurance cards, prescriptions, medical history.
- Legal Documents: Power of attorney, will, legal contracts.
- Property Information: Rental agreements, mortgage papers, car titles.
- Use dividers for organization: Inside your folder, use labeled dividers to keep your documents categorized (e.g., “Health,” “Finance,” “Legal”). This way, if you need to find something quickly, you can grab it with ease.
- Create digital copies: To further secure your documents, scan and back up everything digitally, storing it in a secure cloud storage or an encrypted external drive.
- Keep it accessible and secure: Keep this emergency folder in an easily accessible yet secure place — like near the door, or in a designated emergency area in your home. This ensures you can grab it in a panic, but it’s still safe from others.
- Review and update regularly: It’s important to regularly review the contents of your folder, making sure everything is current. Personal details, health info, or financial documents can change, so stay on top of updates. Set a reminder in your calendar to review and update your emergency folder every 6 months or whenever something significant changes in your life.
By integrating this system into your organizing process, not only will you clear up everyday clutter, but you’ll also be ready for anything life throws at you.
Conclusion
I hope you find these tips helpful for organizing your paper and creating a system that works for you. By starting with sorting, purging, and setting up a solid filing system, you’ll be on your way to a clutter-free and organized space. And don’t forget to prepare for the unexpected with an emergency folder — because peace of mind is just as important as a tidy home.
If you have any questions or need help getting started, feel free to reach out! Happy organizing!
/Malin
Dear Malin!
This Post is fantastic! It is very useful since we are all- still depending on paper. The SOS idea was genius! Will do it immediately. Thank you so much!!
Hi Sandra! I’m so glad you find it helpful! ❤️